Camera Settings: What to Change for Each Situation
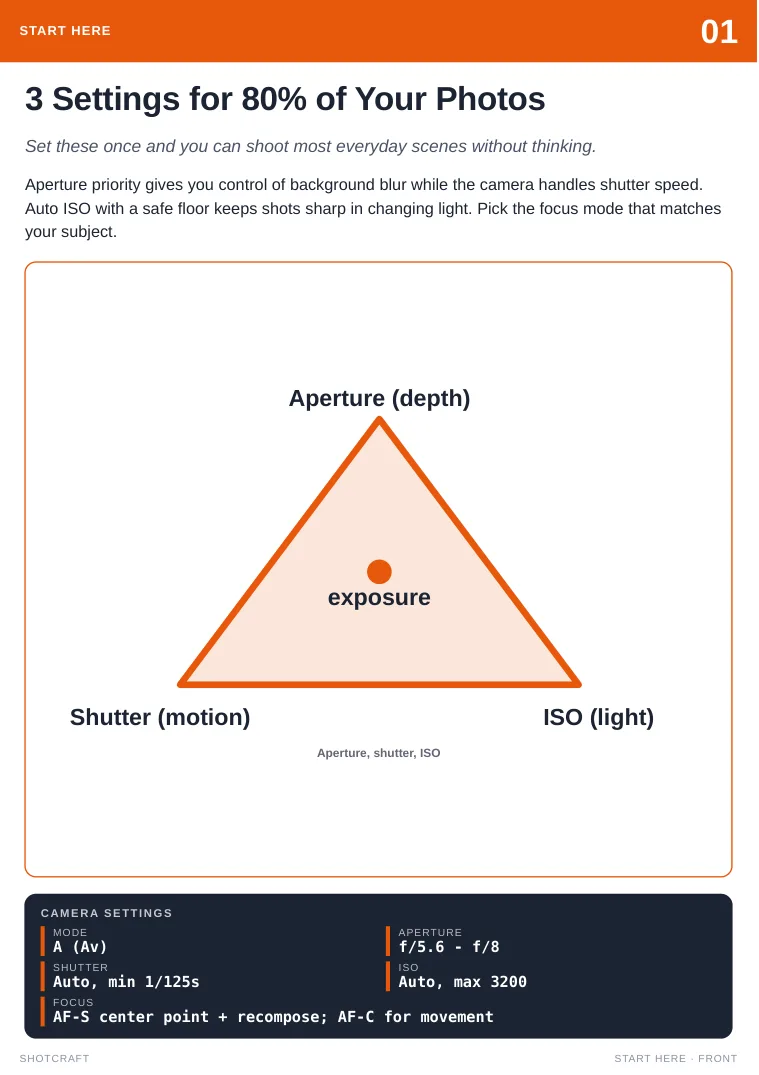
Good camera settings are not a menu to memorize, they are a short list of choices you make based on one question: what is the light doing, and is the subject still or moving? Once you can answer that, you only ever touch two or three controls. This guide walks through the settings that matter, then shows what to set for the situations people shoot most: portraits, kids and pets, dim rooms, landscapes, night, snow and the beach.
The six camera settings that do the work
Cameras bury hundreds of options in menus, but a handful of controls decide nearly every result. Everything else is detail.
| Setting | What it decides | Start with |
|---|---|---|
| Shooting mode | How much the camera decides for you | A / Av (aperture priority) |
| Aperture | Background blur and light | f/5.6 to f/8 |
| Shutter speed | Frozen or blurred motion | 1/125s or faster |
| ISO | Brightness vs grain | Auto, with a limit near 3200 |
| Focus mode and area | What is sharp | AF-S, single point |
| White balance | Color of the light | Auto |
If you want the reasoning behind the first three, the exposure triangle guide explains how they trade off. This page is about applying them.
Start from the situation, not the dial
Before touching anything, run a three-second check:
- Subject: still or moving? This sets your shutter speed floor.
- Light: bright, dim or mixed? This sets how far you can close the aperture and how high ISO must go.
- Look: do you want a soft background, a sharp landscape or a frozen moment? This sets aperture.
Those three answers pick the settings for you. The sections below are just those answers filled in for common cases.
Camera settings for portraits
Aim for a soft background and a sharp eye. Use aperture priority at f/2.8 to f/4 with a lens that opens that wide. Keep ISO at 100 to 400 near a window, and make sure the shutter speed the camera chooses is at least 1/125s. Set autofocus to AF-S with a single point and put the point on the nearest eye.
Two details separate decent portraits from good ones. First, if the face is dark against a bright window or sky, add +0.7 to +1 stop of exposure compensation or switch to spot metering on the face. Second, if the background is not blurry enough, do not just open the aperture: step closer to the subject and move them farther from the background. Distance does as much as the f-number.
Camera settings for kids, pets and sports
Motion is the problem, so shutter speed comes first. Use shutter priority (S or Tv) at 1/500s for walking kids and 1/1000s or faster for running children, dogs and sports. Let Auto ISO handle the changing light, and set the focus mode to AF-C with a zone or tracking, plus continuous drive so you shoot bursts.
The mistake here is leaving the camera on AF-S. It locks focus once, the child keeps moving, and the sharp spot ends up behind them. If you get many soft frames, the blurry photos guide shows how to tell shake from motion from missed focus.
Camera settings for low light and indoors
You are short of light, so you make three trades in a set order. Open the aperture to the widest your lens offers, hold the shutter at a safe handheld speed (about 1/60s to 1/125s, faster if people move), and only then raise ISO. At a dim party or in a restaurant that usually lands around f/2, 1/125s, ISO 1600 to 3200.
Do not turn the flash on out of habit. A sharp photo at ISO 3200 looks better than a blurry one at ISO 400, and available light keeps the mood of the room. If the white balance turns faces orange under bulbs, try the Tungsten preset or set it by hand.
Camera settings for landscapes
You want depth and the cleanest file, and the scene does not move. Use aperture priority at f/8 to f/11, ISO 100, and AF-S with a single point about a third of the way into the scene. Let the shutter speed fall where it needs to. If it drops below about 1/60s, use a tripod or set the camera on a wall or a bag.
At golden hour, switch white balance to Daylight so the camera does not cool the warm glow. For a sunrise or sunset sky, underexpose by about one stop to keep the colors rich, and check the histogram so the bright parts are not clipped.
Camera settings for night and city lights
Handheld city shots at night work with a fast lens: f/1.8 to f/2.8, 1/60s or faster, ISO 1600 to 3200, single-point autofocus on a lit edge, and exposure compensation around -0.7 so lights do not blow out. On a tripod you can go the other way: ISO 100, f/8 and a shutter of several seconds, with the two-second timer so you do not shake the camera when you press the button.
For fireworks and the moon, the settings are different again. The moon is bright, so it needs a daylight-like exposure (around f/8, 1/250s, ISO 100), not a night one. See the moon settings guide for the full walkthrough.
Camera settings for snow and the beach
Bright scenes fool the meter. Your camera aims for middle gray, so snow and pale sand come out gray and dull. Shoot in aperture priority at f/8, ISO 100, and add +0.7 to +1 stop of exposure compensation for snow. At the beach at midday the sun is harsh, so you may need the opposite: a faster shutter and slight negative compensation to hold the highlights in the sky and sand. Either way, check the preview and the histogram after the first shot, then adjust once.
A quick fix table
When a photo goes wrong, resist changing everything. Find the symptom, change the one setting next to it, and shoot again.
| Symptom | Change this first |
|---|---|
| Subject is blurry | Raise the shutter speed |
| Whole photo is soft | Check the focus point, raise the shutter, wipe the lens |
| Photo is too dark | Add exposure compensation or open the aperture |
| Photo is too bright | Subtract exposure compensation or close the aperture |
| Background is too sharp | Lower the f-number and step closer |
| Too much grain | Lower ISO, open the aperture, or add light |
| Colors look orange or blue | Change the white balance preset |
| Camera focused on the wrong thing | Switch to a single focus point |
Three habits that make settings stick
- Change one thing at a time. If you change aperture, ISO and shutter together you will not learn which fixed it.
- Check the histogram, not the screen. The back screen lies in bright and dark places. The histogram does not.
- Reset after each outing. Leftover exposure compensation, a high ISO or manual focus ruins the next day's first shots. Put the camera back to your default.
Settings you can carry with you
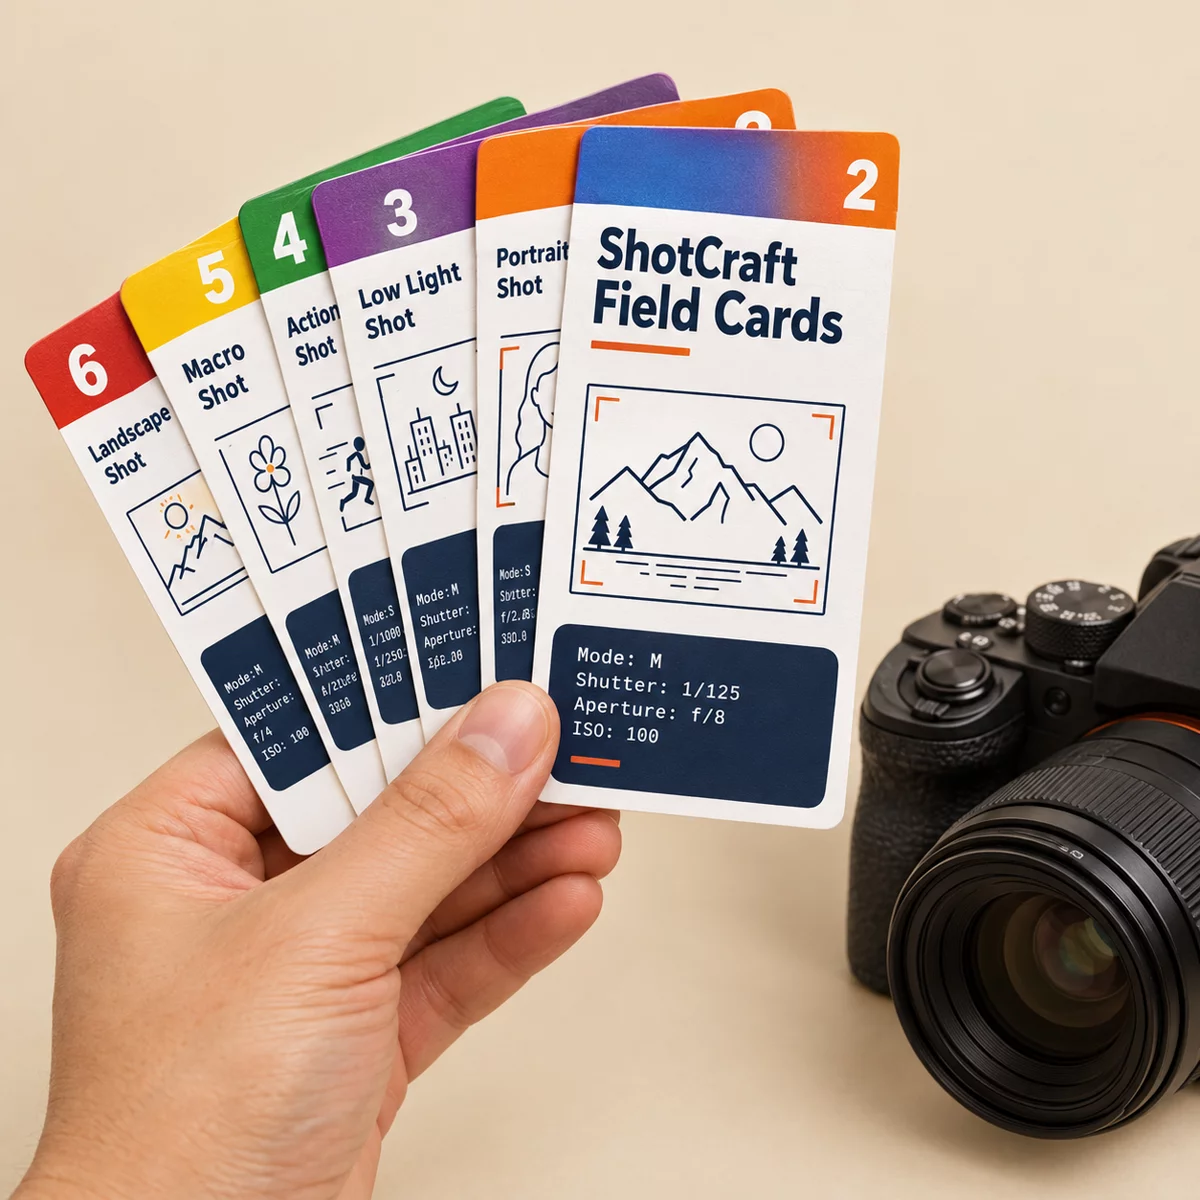
Memorizing every number above is unrealistic, which is why photographers keep them where they shoot. ShotCraft Field Cards puts them on paper. The set opens with a Start Here card that gives the three settings behind roughly 80 percent of your photos, plus a one-page Quick Settings Sheet for fast reference in the camera bag. The 16 Scene Recipe Cards give a full setup for each scene, including the shutter speed, aperture, ISO, focus mode and white balance. A few examples from the cards:
| Scene | Mode | Aperture | Shutter | ISO |
|---|---|---|---|---|
| Kids running in the park | S / Tv | f/5.6 | 1/1000s | 400 |
| Indoor birthday without flash | A / Av | f/2 | 1/125s | 1600 to 3200 |
| Snow scene | A / Av | f/8 | 1/500s | 100 |
| Concert or stage | M with Auto ISO | f/2.8 | 1/250s | 3200 to 6400 |
Each recipe also lists extras such as exposure compensation and white balance, for example +1 EV for snow. Behind them are 44 field cards that go deeper on a single skill, each with steps, a try-it drill and common mistakes, and a Toolkit web app with an exposure calculator. Everything prints at A5 or US Letter. If you only want the shortest possible version, the camera settings cheat sheet covers the core defaults in a single page.
Put it into practice this week
Pick three situations you shoot often, say a portrait at home, a walk outside and a dim room, and write your starting settings for each on a card. Shoot ten frames in each, change one setting per frame, and keep the one that looks best. In a week you will have your own cheat sheet, built on how you actually shoot instead of on someone else's menu.