The Exposure Triangle: A One-Page Cheat Sheet
The exposure triangle is the relationship between three settings, aperture, shutter speed and ISO, that together decide how bright your photo is. Change one and you must change another to keep the same brightness. Each one also has a side effect on the look of the photo, and that is the part that makes the triangle useful: it shows you what you pay for each choice.
The three corners
| Setting | What it controls | Side effect | Safe starting value |
|---|---|---|---|
| Aperture (f-number) | Size of the lens opening | Depth of field (how much is sharp) | f/8 |
| Shutter speed | How long the sensor sees light | Motion blur or frozen motion | 1/125s |
| ISO | Sensor sensitivity | Noise (grain) | ISO 100 |
A common neutral starting point in daylight is M mode, f/8, 1/125s, ISO 100. It is a starting point, not a law: light varies, and a meter reading beats a formula.
What a "stop" means
Photographers measure brightness in stops. One stop equals double or half the light. These all change exposure by exactly one stop:
- Aperture: f/8 → f/5.6 (one stop brighter), f/8 → f/11 (one stop darker)
- Shutter speed: 1/125s → 1/250s (one stop darker), 1/125s → 1/60s (one stop brighter)
- ISO: 100 → 200 (one stop brighter), 400 → 200 (one stop darker)
Because every change is measured in the same unit, you can trade one for another. If you open the aperture by one stop, you can make the shutter one stop faster, or lower ISO one stop, and the brightness stays identical. Learn the stop sequence and you can do exposure math in your head.
Pick your priority first
The mistake most beginners make is changing everything at once. Instead, decide what matters most:
- Depth of field first. Want a blurry background or a sharp landscape? Set the aperture, then adjust shutter and ISO. See what aperture is and how it affects depth of field.
- Motion first. Want to freeze a runner or blur a waterfall? Set the shutter speed, then adjust aperture and ISO.
- Noise first. Shooting a still subject on a tripod where you want the cleanest file? Keep ISO at base and let shutter speed and aperture do the rest.
Whichever you set first, the other two fill in around it. Raise ISO last, because it is the one that costs image quality.
Priority modes
You do not have to use full manual to apply the triangle:
| Mode | You set | Camera sets | Use it for |
|---|---|---|---|
| A / Av (aperture priority) | Aperture | Shutter speed | Portraits, landscapes, most daily shooting |
| S / Tv (shutter priority) | Shutter speed | Aperture | Sports, moving water, panning |
| M (manual) | All three | Nothing | Tripod work, studio, consistent results |
With Auto ISO and a maximum you choose, A or S mode gives you control of the one creative setting while the camera handles the rest.
Worked examples
Portrait with a soft background. Aperture priority, f/2.8, ISO 100 to 400. The camera picks a shutter speed. If it falls below 1/125s, raise ISO a step or two.
Running dog in a park. Shutter priority at 1/1000s, Auto ISO. The camera opens the aperture as needed, and ISO rises if light is short.
Landscape at golden hour. Aperture priority, f/8 to f/11, ISO 100, on a tripod. Shutter speed may drop to a second or more, which is fine for scenery that does not move.
Dim indoor room, handheld. Open the aperture to the widest your lens offers, keep the shutter at a safe handheld speed, and raise ISO until the exposure works. A properly exposed shot at ISO 3200 often looks cleaner than an underexposed one at ISO 800 lifted in editing.
Why the triangle matters in real life
The triangle explains most "why did my photo turn out like that?" moments. A dark indoor shot is a shortage of light that one of the three settings has to cover. A smeared child is a shutter speed that was too slow for the subject. A grainy night shot is an ISO that was pushed to compensate. Once you see each result as a trade, the fix is usually a single step instead of a mystery.
How to check the result
After a shot, look at the photo and its histogram. If it is too dark, brighten by one change, such as a slower shutter, a wider aperture or a higher ISO, not all three. Change one setting, retake and compare. The histogram guide shows how to confirm brightness without trusting the screen.
Common mistakes
- Changing all three at once. Change one, then compensate.
- Ignoring side effects. A slow shutter means blur, and a wide aperture means thin focus.
- Raising ISO first. Use it last.
- Chasing a perfect formula. The right setting is the one that fits this light and this subject. If the result is blurry, the blur diagnosis separates shake, motion and focus.
Try this exercise
Put your camera on a table facing a window scene and shoot in manual mode. First change only aperture (f/2.8, f/5.6, f/11), then only shutter speed (1/60s, 1/250s, 1/1000s), then only ISO (100, 800, 3200). Compare the nine frames side by side and write one sentence under each: brightness, blur, depth or grain. Ten minutes will teach you more than a page of theory.
What ShotCraft Field Cards puts on a card
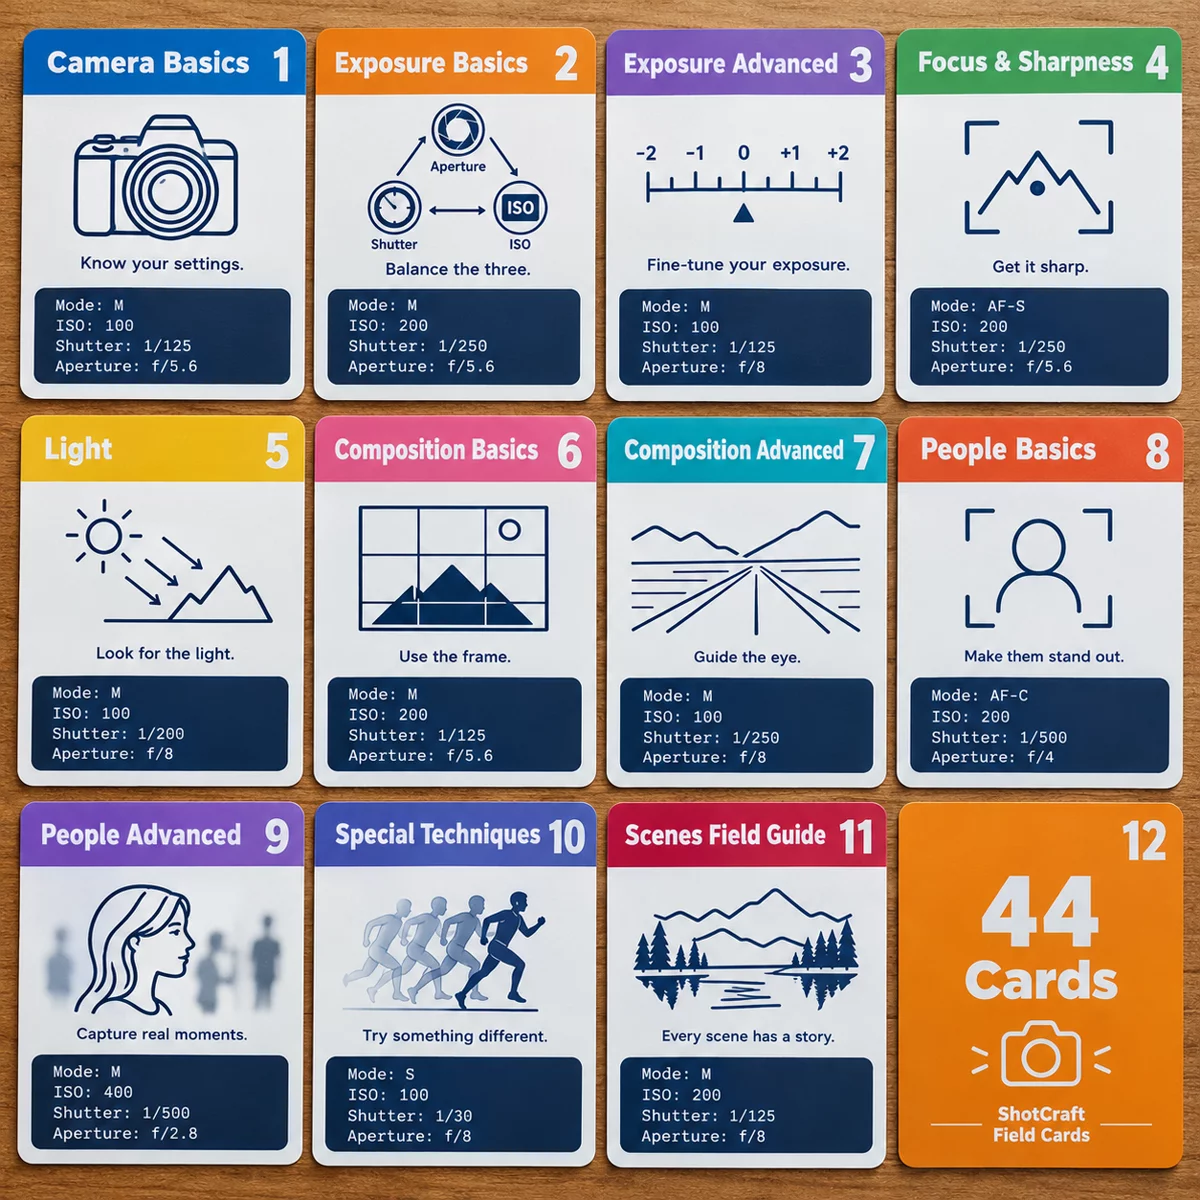
The Exposure Triangle card in the ShotCraft set condenses this into one printable page: the three-corner logic, five steps (decide your priority, set it, adjust the other two, keep ISO low, check the meter), starting settings in M mode, a try-it drill and the "one stop equals double or half the light" tip. The Quick Settings Sheet is a one-page version for fast reference. The Toolkit web app adds an exposure calculator you can use on your phone. Print the cards at A5 or US Letter and keep them in the camera bag. For the shortest possible version, see the camera settings cheat sheet.