What Is Aperture? F-Stops and Depth of Field Explained
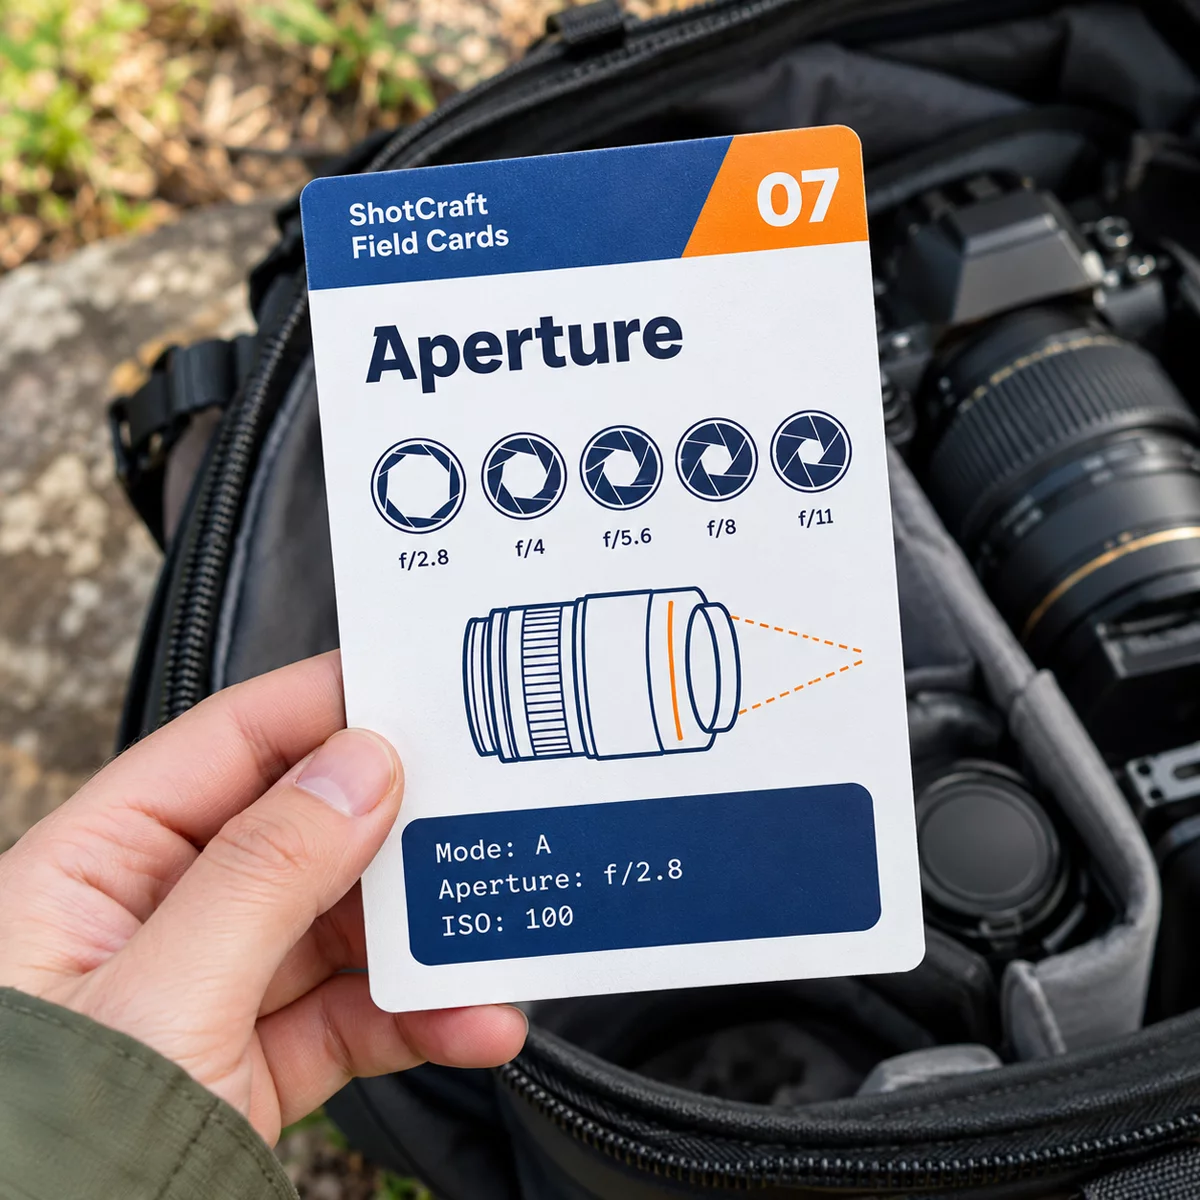
Aperture is the opening inside your lens that lets light reach the sensor, and it is written as an f-number such as f/2.8 or f/11. It does two jobs at once: it controls how bright the photo is, and it controls how much of the scene looks sharp from front to back, which photographers call depth of field. If you remember one thing, make it this: a small f-number is a wide opening with a blurry background, and a big f-number is a narrow opening with more of the scene in focus.
The number runs backward
The f-number is a fraction, so a bigger number means a smaller opening. That is why f/2 feels "backward" to beginners.
| Aperture | Opening | Light | Background | Typical use |
|---|---|---|---|---|
| f/1.8 to f/2.8 | Wide | A lot | Very blurry | Portraits, low light |
| f/4 to f/5.6 | Medium | Moderate | Softly blurred | Everyday shots, small groups |
| f/8 to f/11 | Narrow | Less | Mostly sharp | Landscapes, city scenes |
| f/16 and above | Very narrow | Little | Sharp, but details soften | Special cases only |
The f-stop chart in one line
Full stops run: f/1.4, f/2, f/2.8, f/4, f/5.6, f/8, f/11, f/16, f/22. Each step to the right lets in half the light of the one before. Going from f/2.8 to f/4 is one stop darker, and going from f/8 to f/5.6 is one stop brighter. Cameras also offer in-between steps in thirds, so you may see f/3.2 or f/6.3.
What depth of field is
Depth of field is the zone in front of and behind your focus point that looks acceptably sharp. Three things change it:
- Aperture. A wider opening (lower number) makes the zone thinner.
- Distance to the subject. The closer you are, the thinner the zone.
- Focal length. A longer lens gives a thinner zone at the same framing.
For more blur, use all three together: open the aperture, step closer and use a longer lens. Also put more distance between the subject and the background, since a person standing far in front of a wall blurs the wall more than a person standing next to it.
How to choose an aperture
Isolate a subject: open wide, around f/1.8 to f/2.8, and focus on the nearest eye. The eye must be crisp, because a wide aperture punishes a missed focus.
Keep everything sharp: close down to f/8 to f/11 for landscapes and groups. For a group of people at different distances, f/5.6 or higher keeps them all sharp, and f/1.8 would leave some faces soft.
Avoid the smallest openings: f/22 sounds like it gives maximum sharpness, but diffraction softens fine detail. f/8 to f/11 is usually sharper.
Most lenses are sharpest two to three stops from their widest opening. Test yours: shoot the same subject at every aperture from a tripod and compare at 100%. The sweet spot you find is worth writing down.
Aperture also changes exposure
Because aperture also controls brightness, changing it means something else must change to keep the photo balanced. Open up from f/8 to f/4 and you let in four times the light, so the shutter must get faster or ISO lower. The exposure triangle guide shows how the three settings trade off, and the camera settings cheat sheet boils it down to the three settings that matter for most photos.
A one-minute experiment
Choose one subject. From the same spot, shoot it at f/2.8, f/5.6, f/11 and f/16, in aperture-priority mode (A or Av) with ISO at 100 to 400 and a single focus point. Compare the background in each photo. Within a minute you will see what this guide describes, and you will know your own lens better than any chart.
Aperture settings for common situations
| Situation | Starting aperture | Why |
|---|---|---|
| Single portrait, blurred background | f/2.8 | Isolates the face from the background |
| Two or three people | f/4 to f/5.6 | Keeps everyone's eyes inside the sharp zone |
| Large group | f/5.6 to f/8 | Faces at different distances all stay sharp |
| Landscape with foreground and distance | f/8 to f/11 | Front-to-back sharpness without diffraction |
| Indoor, dim light, handheld | Widest your lens offers | Lets in light so the shutter can stay fast |
| Close-up of a small object | f/5.6 or higher | The sharp zone is razor thin at close range |
Notice that dim light pulls you toward wide apertures, while sharpness across a scene pulls you toward narrow ones. Most shooting is a compromise between the two, and that is exactly why it helps to know your lens's sweet spot.
Common mistakes
- Shooting a group at f/1.8. Stop down to f/5.6 or more.
- Using f/22 for "maximum sharpness". f/8 to f/11 is usually sharper.
- Forgetting that wide apertures miss focus easily. Nail the eye.
- Blaming aperture for blur that comes from shake. If the whole frame is soft, check shutter speed. The blurry photos diagnosis separates the causes.
Where ShotCraft Field Cards fits
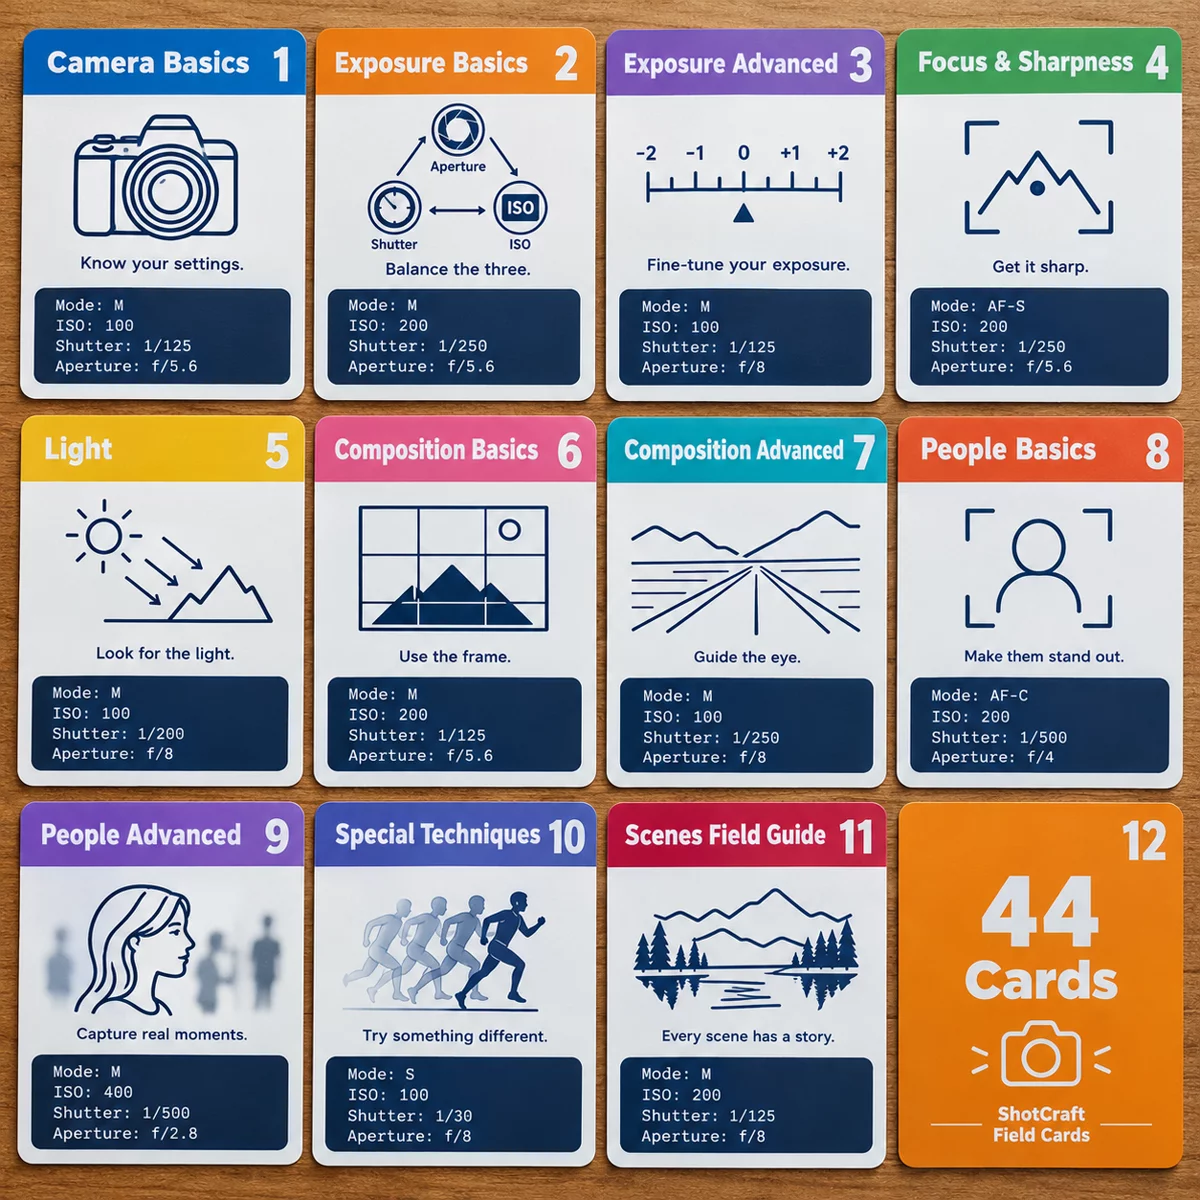
The Aperture and Depth of Field card in the ShotCraft set condenses all of this onto one printable card: the f-number logic, steps for isolating a subject and for keeping a scene sharp, starting settings (f/2.8 for portraits, f/11 for landscapes, ISO 100 to 400, single-point AF-S), a four-aperture drill and the pro tip about each lens's sweet spot. The ShotCraft Toolkit web app that comes with the set includes a depth of field calculator, so you can see how aperture, distance and focal length move the zone of sharpness before you shoot. The cards print at A5 or US Letter.
Next steps
Depth of field is a creative choice, and composition makes it count. See how lines lead the eye to your sharp subject in leading lines photography. If your photos still come out soft, run the four checks in why are my photos blurry.