Leading Lines in Photography: What They Are and How to Use Them
Leading lines are lines in a scene that guide the viewer's eye through your photo and toward your subject. Roads, fences, rivers, rails, shadows and building edges all work. Use them well and a flat picture gets a path; use them badly and the eye slides straight out of the frame. This guide shows you how to find them, place them and practice.
Why they work
Eyes follow lines. When a line enters the frame, the viewer's gaze follows it to wherever it goes. If it ends at your subject, you have told them where to look without a single word. If it stretches into the distance, you have given the picture depth.
Leading lines solve three common problems:
- Wandering eyes. Viewers' eyes wander and never settle on your subject.
- Flat scenes. A photo with no path feels like a snapshot.
- Lack of scale. A line leading to a small figure shows how big the space is.
Where to find leading lines
- Roads, paths and railways: the classic converging lines
- Fences and railings: repeated lines that create rhythm
- Rivers and shorelines: gentle curves
- Shadows: long shadows at golden hour act as lines
- Building edges and bridges: strong architectural lines
- Curbs, stairs and tiles: everyday geometry in cities and indoors
Walk one block with a camera and you will find five.
The four types of line
| Type | Feeling | Example |
|---|---|---|
| Diagonal | Energy, motion | A road running corner to corner |
| Converging | Depth, distance | Railway tracks meeting at the horizon |
| Curved | Flow, calm | A winding river or path |
| Horizontal / vertical | Stability, order | A fence, a row of poles |
A step-by-step method
- Scan for lines. Look for roads, fences, shadows and edges.
- Position yourself so lines start near a frame corner. A line that begins at the edge draws the eye in immediately.
- Make the lines end at your subject. Walk until the destination sits where you want it.
- Use a wide lens to stretch converging lines. A wide focal length makes them more dramatic.
- Get low. A low camera exaggerates the lines and makes them more dramatic.
- Keep the horizon level and verticals upright, so lines do not tilt the picture.
Settings
Leading-line scenes usually need sharpness from front to back. A good start is A / Av mode, f/11, ISO 100, and AF-S with the focus point about one-third into the scene. A smaller opening gives more depth of field. For the reasons, read what aperture is and how depth of field works (it explains why f/8 to f/11 is a good range).
Give the line a destination
A line with no end point leaves the eye with nowhere to rest. Put something at the end of it: a person, a lamp post, a door, a boat. A single small figure at the vanishing point gives instant scale and story. This is also how leading lines support stories in a photo series, which is covered in how to write a photo essay.
Common mistakes
- Lines that lead out of the frame. Reposition them so they travel toward the subject.
- Competing lines. Remove or crop the extras, so one line is the hero.
- Lines with no end point. Add a subject at the destination.
- Tilted camera. Verticals lean and lines look accidental. Level the camera.
Leading lines in different places
| Place | Lines to look for | Tip |
|---|---|---|
| City street | Curbs, lane markings, building edges, power lines | Stand in the middle of a quiet street, or on a bridge looking down |
| Countryside | Fences, paths, field rows, rivers | Get low so the foreground line is large |
| Indoors | Floor tiles, hallways, stair rails, ceiling beams | Center yourself and keep the camera level |
| Beach | Waterline, boardwalk, footprints | Shoot at sunrise or sunset when low light makes shadows long |
| Nature | Tree trunks, branches, a stream | Look for lines that curve toward a bright spot |
In every case the idea is the same: find the line first, then walk until it ends where you want the viewer's eye to rest.
Pair lines with good light
Lines pop in low, side light, when shadows stretch and add their own lines. Plan a visit at the right time: golden hour photography explains when and how. If you edit on your phone, a crop that starts a line at the corner can strengthen a photo: see how to edit photos on iPhone.
Exercise: three heights
Find a path or fence and shoot it from three heights: standing, kneeling and lying down. Compare the three. You will see how a lower angle strengthens the lines, and you will learn which height suits which scene. Then walk a block and shoot five different leading lines: a path, a railing, a shadow, a curb and a building edge. Pick the strongest. The 30-day photography challenge has more drills like this.
What ShotCraft Field Cards offers
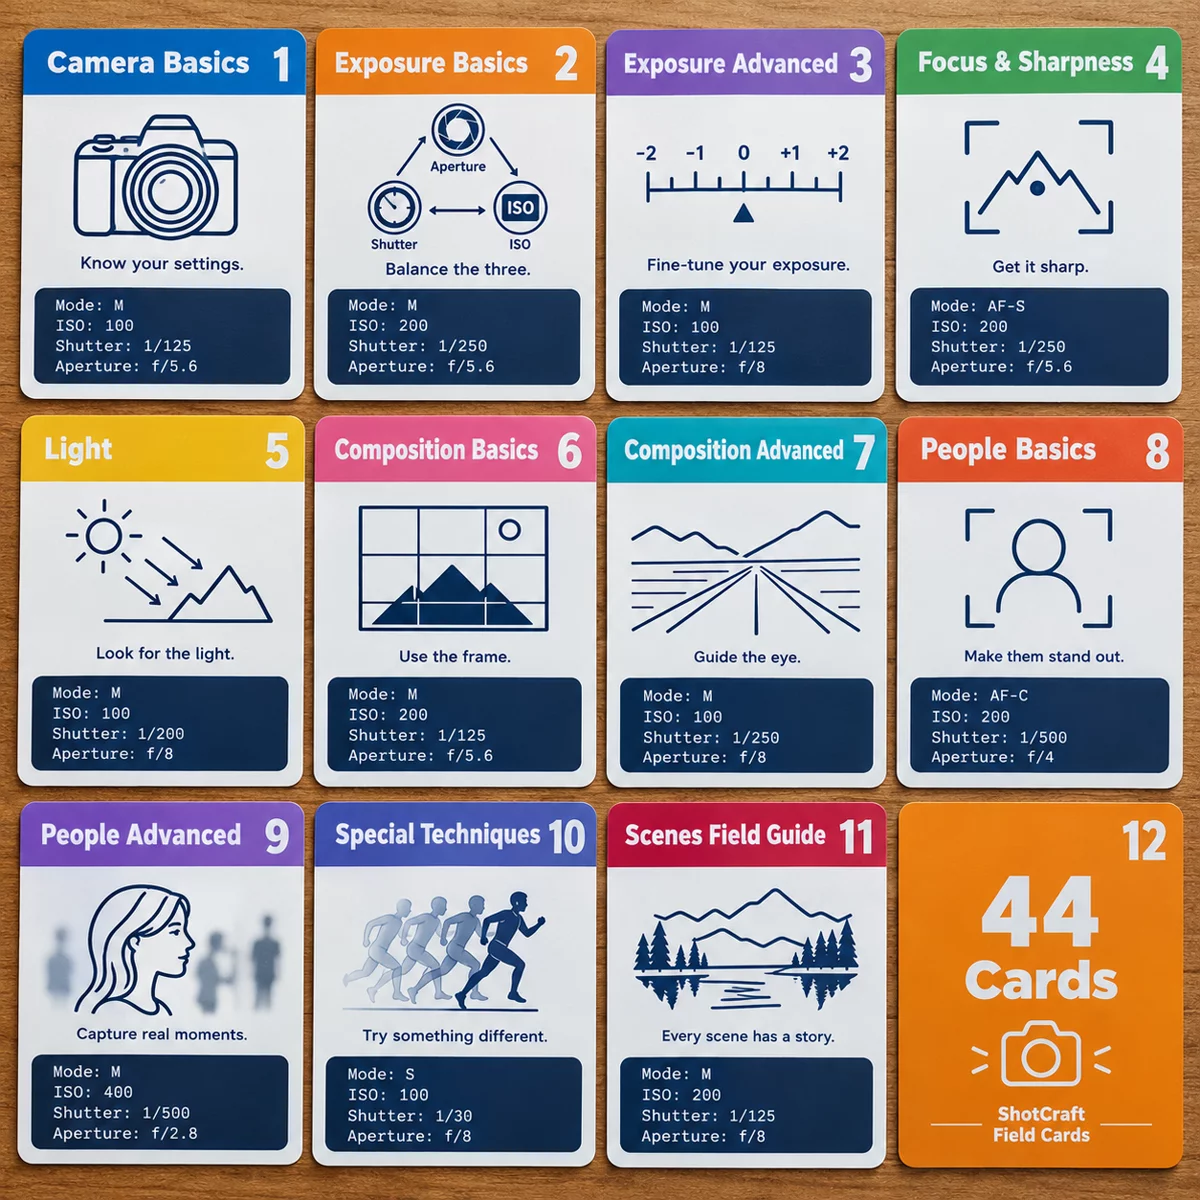
The ShotCraft set's Leading Lines card puts the method above on one printable page: the five steps, the starting settings (A / Av, f/11, ISO 100), the mistakes to avoid and a pro tip about placing a person at the end of a line. Neighboring cards cover the Rule of Thirds, Frame Within the Frame and Simplify and Use Negative Space, so you can build a full composition toolkit. The set has 44 cards that print at A5 or US Letter. ShotCraft's separate Field Challenges add-on includes a Follow the Lines exercise, but it is not part of the main set.