How to Create a Photo Essay: From Idea to 5-10 Photo Series
A photo essay is a short series of photographs that tells a story together, where each image adds something the others do not. Five to ten photos are enough. You choose a subject, cover it from different distances, cut ruthlessly and put the frames in an order that has a beginning, a middle and an end. Short captions add the facts that pictures cannot.
Step 1: Choose a subject you can finish
Pick a topic small enough to photograph in a day or two, and one you can return to if you need more frames. Good first topics:
- Your morning routine
- A local market, bakery or workshop
- A family meal from preparation to cleanup
- One street over the course of an afternoon
- A hobby or a craft being made
Write the subject as one sentence: "This essay is about ___." If you cannot finish the sentence, narrow the topic. Every strong story photo has one main subject, and so does every strong series.
Step 2: Shoot in three distances
A pile of similar shots never adds up to a story. Shoot each scene at three distances:
- Establishing shot: wide, shows where this is.
- Medium shot: shows people or action.
- Detail shot: close on hands, objects or texture.
Move your feet between shots and vary your angle. A useful trick is to shoot the detail first when you arrive, because it trains your eye to see small things. A starting lens plan: wide at around 24mm, medium at 50mm, detail at 85mm.
Step 3: Give it a beginning, a middle and an end
A story has a start, a turn and a finish. Write one line for each before you shoot:
- Beginning: set the stage.
- Middle: the main action or turning point.
- End: the result, a calm moment or a quiet image.
Even making a cup of coffee follows this arc: the setup, the pour and the first sip. Plan the last frame first, since knowing the ending helps you build toward it.
Step 4: Shoot more than you need
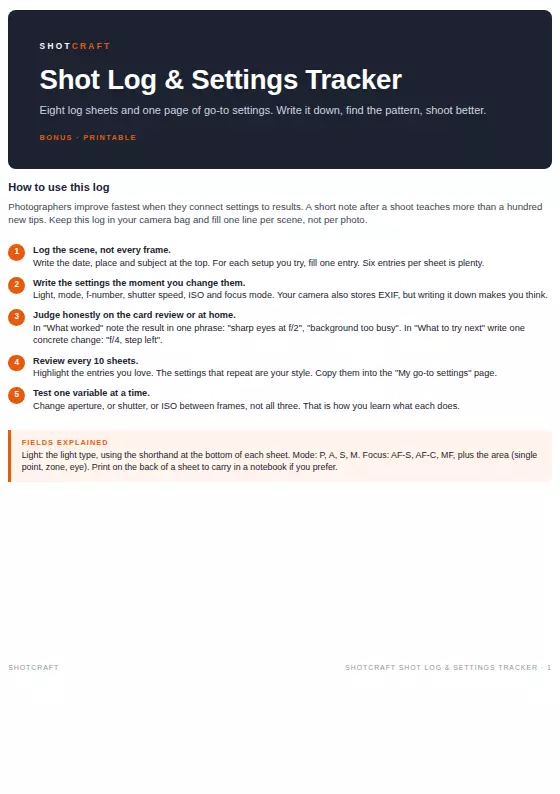
Take at least 30 frames. You need choice when you edit. Use a simple setting like aperture priority, f/5.6 and Auto ISO with a maximum of 1600, so you can focus on the subject. If you are not sure how to keep shots sharp, review the basics in the camera settings cheat sheet first.
Step 5: Edit down to 5 to 10
Editing is where the essay is made.
- Flag your top 25.
- Cut to five to ten, one idea per photo.
- Drop repeats, even good ones. If two frames say the same thing, keep the stronger.
- Pick by what the story needs, not by your favorites alone. If you cannot decide between two, keep the one with the clearer subject.
- Apply one consistent edit to the whole series, so it feels like one piece.
Step 6: Sequence for rhythm
Place the frames so each adds something new. Alternate wide, medium and detail, and avoid putting two similar images side by side. Link photos with a shape, a color or a direction that carries the eye from one to the next. Open with a frame that sets the scene, and end on one with feeling.
Step 7: Write short captions
A caption adds facts the picture cannot show: names, place, date and a small surprise.
- Write who, where and when in one line.
- Add one detail not visible in the photo.
- Use plain, active words and do not repeat what the picture already shows.
- Keep it under about 25 words, then read it aloud and trim.
Note names and facts on your phone right after shooting, before you forget.
A worked example
Topic: Saturday at the farmers' market.
| # | Frame | Role |
|---|---|---|
| 1 | Wide shot of the stalls at opening | Establishing |
| 2 | A seller stacking crates | Beginning |
| 3 | Hands passing a bag of apples | Action |
| 4 | A child tasting a sample | Emotion |
| 5 | Close-up of chalk prices on a board | Detail |
| 6 | Empty stall at closing, light low | End |
Six frames, one story, each doing a different job.
Common mistakes
- Too many similar frames. Cut to one per idea.
- Only shooting the middle. Add an opening and a close.
- Ending on a weak frame. Look for a final image with feeling.
- Describing the obvious in captions. Add something unseen.
Related reading
Lines can guide the viewer from one frame to the next: see leading lines in photography. To build the habit, try a 30-day photography challenge, and keep a photo journal of what worked.
What ShotCraft Field Cards offers, and what is separate
The main ShotCraft set has 44 printable cards on settings, light and composition, plus the Scene Recipe Cards and the Shot Log & Settings Tracker, which help you shoot sharp, well-lit frames for any essay.
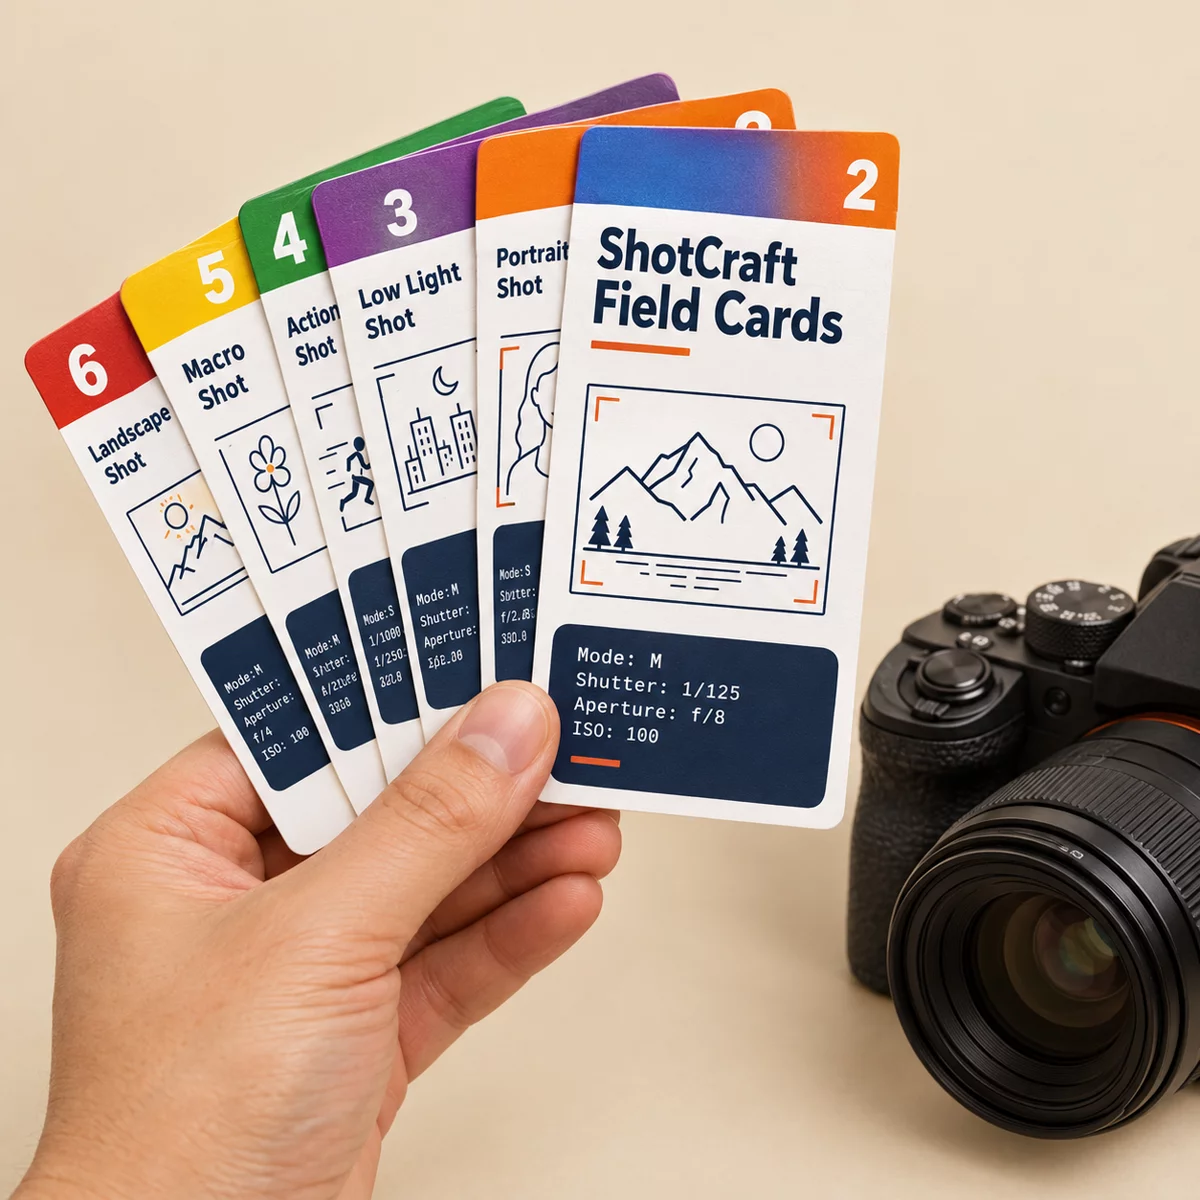
The steps in this article follow the Photo Essays area of ShotCraft's separate Storytelling Cards, a 24-card paid add-on offered after checkout. That pack has cards on Establish, Medium, Detail; Beginning, Middle, End; The 5-10 Photo Series; and Write Short Captions. It is not part of the main set, and you can follow the whole method above without it.