The Rule of Thirds in Photography: Grid, Examples and How to Use It
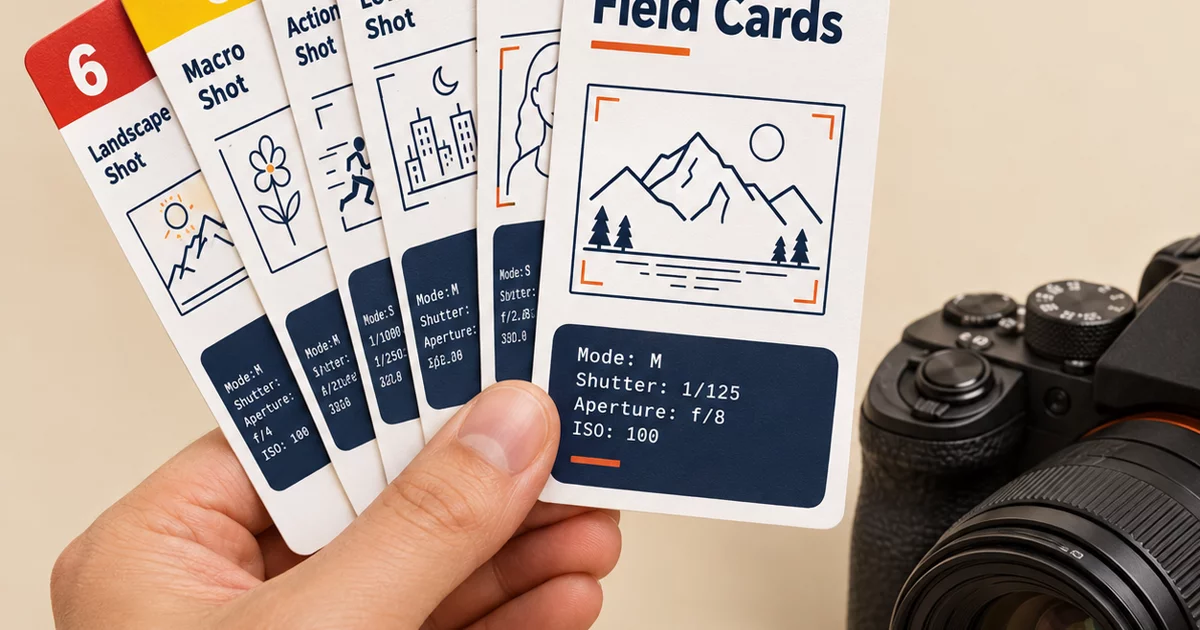
The rule of thirds says to divide your frame into a 3 by 3 grid and place your subject on one of the lines or at one of the four points where they cross, instead of in the middle. Off-center subjects feel more balanced and more alive than centered ones, and the grid gives you a quick, repeatable way to decide where things go. This guide shows the grid, where to put each kind of subject, when to break the rule, and how to practice until it happens without thinking.
What the rule of thirds is
Draw two vertical lines and two horizontal lines across your frame so that it is cut into nine equal rectangles. Those four lines and the four points where they meet are your guides:
| Left third | Middle third | Right third | |
|---|---|---|---|
| Top third | Upper-left power point: strong spot for an eye or a small subject | Sky, ceiling or empty space | Upper-right power point: the mirror of the left |
| Middle third | Left line: a tall subject such as a tree or a standing person | The center: where most beginners put everything | Right line: another good place for a tall subject |
| Bottom third | Lower-left power point: a path, a flower or a foot of a subject | Foreground or ground | Lower-right power point: the mirror of the left |
The idea is usually traced back to John Thomas Smith, who described a similar "rule of thirds" for landscape painting in a book from 1797. Photographers adopted it because the eye tends to rest comfortably near these lines and points.
Why it works
- Tension and balance. A subject placed off-center creates a small tension with the empty space around it. The empty space balances it, and the result feels intentional.
- Room to look and move. Space on one side gives a person room to look into, or a runner room to run into.
- A reason to look around. The eye goes to the subject, then explores the rest of the frame, instead of landing in the middle and staying there.
- A decision shortcut. When you are standing in front of a scene, the grid gives you something concrete to do: move the subject onto a line.
How to turn on the grid
- On a phone. Open the camera settings and switch on the grid or grid lines. On an iPhone it is in Settings, then Camera, then Grid.
- On a mirrorless or DSLR. Look in the display or viewfinder menu for a grid overlay. Many cameras offer a 3 by 3 grid, and some offer a 2 by 2 or a finer grid as well.
- On a film or older camera. Imagine the grid. Mentally divide the viewfinder into nine parts. It becomes automatic with practice.
- In editing. Use the crop tool, which usually shows a thirds overlay while you drag.
Step by step: using the rule
- Pick your subject. Name it before you raise the camera. If you cannot say what the photo is about, no grid will help.
- Choose a line or a power point. For a single subject, a power point is the classic spot. For something tall, use a vertical line.
- Move your feet or your focus point. Reposition the camera until the subject sits where you want it. If you use autofocus, move the focus point off center, or focus first and then reframe.
- Place the horizon. Put it on the top line or the bottom line, not the middle.
- Add space where the subject is going or looking. Leave more room in front of the subject than behind it.
- Check the edges. Make sure nothing distracting touches the frame at the lines you just created.
Where to put things: a quick reference
| Subject | Where to place it | Why |
|---|---|---|
| Portrait of one person | An eye on an upper power point | The eyes are the strongest point of interest in a face |
| Landscape with an interesting sky | Horizon on the lower line, so the sky takes two thirds | The sky gets the space it deserves |
| Landscape with an interesting foreground | Horizon on the upper line, so the ground takes two thirds | Rocks, water or flowers get the space |
| Moving subject (runner, cyclist, bird) | Subject on the side opposite to its direction, with space ahead | Gives the subject room to move into |
| Person looking to one side | Person on the side opposite the gaze, with space in front | Avoids the feeling that they are looking out of the picture |
| Tall subject (tree, lighthouse, doorway) | On a vertical line | Leaves a third of the frame for context |
| Close-up of a flower or detail | Main point of interest on a power point | A small subject needs room around it |
| A road, river or fence | Start the line at a corner and let it travel toward a power point | Combines thirds with leading lines |
Examples you can try today
- A person on a bench. Put them on the left vertical line, facing right into the empty space.
- A mountain at sunrise. Put the horizon on the bottom line and the sun on the upper-right power point.
- A coffee cup on a table. Place the cup on the lower-left power point, with the steam and the window filling the rest.
- A street scene. Put the main figure on a vertical line and the building edge on the other line.
- A pet. Place the eyes on an upper line, not the middle of the picture.
Rule of thirds in portrait orientation
The grid works just as well when you hold the camera vertically. For a standing portrait, put the face in the top third and the eyes near the upper horizontal line. For a landscape in vertical format, divide the scene into a third and two thirds, and decide which part gets the larger share.
When to break the rule
The rule is a starting point, not a law. Break it on purpose when:
- Symmetry is the point. Reflections in water, tunnels, long corridors, and buildings seen straight on look best when the subject is centered and the frame is balanced left to right.
- The subject fills the frame. A tight close-up of a face or an object does not need off-center placement.
- A centered portrait is more powerful. Direct eye contact in a centered frame can feel confrontational in a good way.
- A pattern or texture repeats. Where there is no single subject, the grid has little to offer.
- The scene has a strong leading line to the center. In that case, let the line decide. See leading lines in photography.
A useful habit: take one photo following the rule, then one deliberately breaking it, and compare them later.
Common mistakes
- Centering everything by default. Move the focus point and shift your position.
- Cutting the horizon in half. Choose sky or land.
- Following the rule rigidly. If the picture feels worse on a power point, trust your eyes.
- Putting the subject on a line and forgetting the background. Check that a pole or a branch does not appear to grow out of the subject.
- Tilting the camera. A tilted horizon looks like a mistake whatever the grid says. Level the camera.
- Leaving no space in front of a moving subject. The picture feels cramped.
Settings to pair with it
The rule of thirds is about placement, not exposure, but your settings decide whether the placed subject comes out sharp. A good starting point is A / Av mode, f/5.6, ISO 100 to 400, and AF-S with a single focus point moved off-center. If a photo comes out soft after you reframe, read why your photos are blurry. For shooting at the best time of day, golden hour photography explains the light that makes off-center subjects glow.
Exercise: ten photos, one subject
This is the exercise that fixes the habit fastest:
- Pick a single subject, such as a mug, a plant or a friend.
- Take ten photos, placing the subject at a different spot each time: all four power points, the two vertical lines, the two horizontal lines and two centered shots.
- Review them on a big screen.
- Pick the strongest. Note which position it was and why you liked it.
Do it with three different subjects and you will start to see the grid in the viewfinder without turning it on. For a month of drills like this, try the 30-day photography challenge, and if you are building a series, how to write a photo essay shows how composition choices carry a story across several pictures.
The grid on a card you can take with you
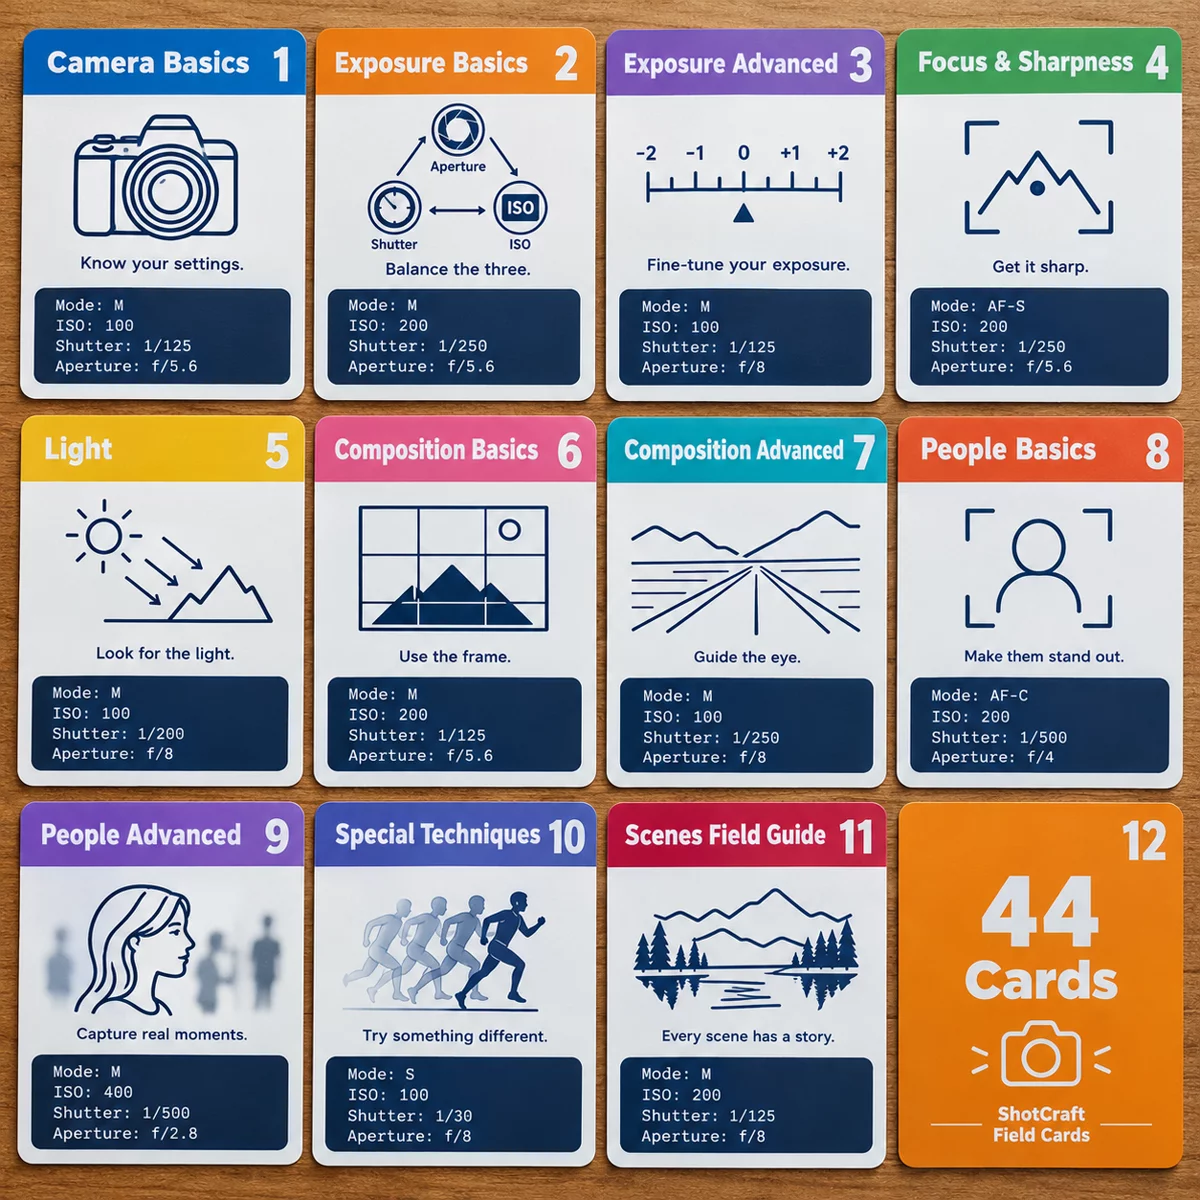
ShotCraft Field Cards turns the steps above into a printable pocket reference. Card 21, The Rule of Thirds, sits in the Composition Basics area and covers a 3 by 3 grid, placing the subject on a line or intersection, putting the horizon on the upper or lower line, leaving space in front of a moving or looking subject, and knowing when to break the rule. It lists starting settings (A / Av, f/5.6, ISO 100 to 400, AF-S with a single point moved off-center), the exercise of taking ten photos of one subject at different intersections, three common mistakes and a pro tip: place the eye of a person or animal on an upper intersection for a stronger portrait.
Next to it in Composition Basics are Leading Lines (22), Frame Within the Frame (23) and Simplify and Use Negative Space (24). In Composition Advanced, Symmetry & Patterns (25) and Balance & Odd Numbers (28) pick up where the rule of thirds leaves off. The set has 44 printable cards that print at A5 or US Letter. ShotCraft's separate Field Challenges add-on is not part of the main set.