Rembrandt vs Loop Lighting: The Four Classic Portrait Patterns
Rembrandt and loop lighting are two of four classic portrait patterns, and they differ mainly in where you place the light. In both, one light sits to the side and a bit above the face. In loop lighting, the light is angled 30 to 45 degrees off the camera axis, so the nose casts a small shadow that "loops" toward the cheek without touching the cheek shadow. In Rembrandt lighting, the light is moved farther around, and the shadows join to form a small triangle of light on the shadow-side cheek. Learn all four patterns and you can repeat a look on purpose instead of lighting faces at random.
The four patterns
| Pattern | Light position | What you see | Mood |
|---|---|---|---|
| Butterfly | Directly in front, above, pointed down | Small shadow below the nose | Glamorous, even |
| Loop | 30 to 45 degrees off-axis | Nose shadow angled toward the cheek | Natural, flattering |
| Rembrandt | Farther around and higher | Triangle of light on the shadow cheek | Dramatic, classic |
| Split | About 90 degrees to the side | Half the face lit, half in shadow | Moody, intense |
How to set up each one
You only need one light source. A window, a lamp or a single flash will do. A reflector or a white card on the shadow side is optional.
- Butterfly: put the light directly in front of the face and above it, pointed downward. A small butterfly-shaped shadow forms under the nose.
- Loop: move the light 30 to 45 degrees to one side. The nose shadow tilts toward the cheek. Stop before it touches the cheek shadow.
- Rembrandt: move the light farther around and raise it, until a small triangle of light appears on the cheek that is turned away from the light.
- Split: move the light to 90 degrees, so it lights exactly half the face. Add fill if the shadow side is too dark.
Turn the subject, not the light, for quick changes. If you have a lamp on a table, you can go from butterfly to split just by asking the person to rotate.
Getting the Rembrandt triangle right
The triangle is the signature of the pattern. A good one is about as wide as the eye and no longer than the nose. If you do not see one:
- Raise the light a little, so the nose shadow falls lower.
- Turn the face farther away from the light.
- Make sure the light is not too wide or diffused, since a very large soft source can wash out the triangle.
Camera settings to start from
A starting point from the pattern card: manual mode, f/5.6, 1/200s, ISO 100, single-point AF-S on the nearest eye. If you are shooting by window light and the room is dim, open the aperture or raise ISO, and keep the shutter at a safe handheld speed. For more on the aperture choice, see what aperture is, and keep the camera settings cheat sheet nearby for the basics.
Which pattern for which job?
| Goal | Try | Why |
|---|---|---|
| A flattering everyday portrait | Loop | Gentle shadows that suit most faces |
| A polished, even look | Butterfly | Light falls evenly across the face |
| A classic, painterly look | Rembrandt | Strong shape and a sense of depth |
| A moody or serious mood | Split | High contrast with half the face in shadow |
| Soften the shadow side | Any pattern plus a reflector | Bounces light back into the dark cheek |
If you are ever unsure, start with loop. It is easy to place, it hides little, and a step toward Rembrandt is a small move of the light or the face.
Common mistakes
- Rembrandt with no triangle. Raise the light or turn the face more.
- Split lighting on everyone. Use it for drama, not for general portraits.
- Forgetting the catchlight. Look for a small highlight in the eyes. It brings a face to life.
- Letting the light get too low. Light from below can look unflattering, so keep it at or above eye level.
- Moving the light and the subject at once. Change one, then look.
Practice in ten minutes
Sit a friend near a window or a single lamp in a dim room. Rotate them through all four patterns, name each one aloud, and take a photo of each. Compare. You will learn to recognize the patterns in other people's photos too.
Use natural light
You do not need studio gear. Window light behaves like a large soft light source, and the sun at golden hour does the same outside. The golden hour guide explains when the light is at its best, and the silhouette photography guide shows what happens when the light is behind your subject instead of beside them.
What ShotCraft Field Cards covers, and what it does not
The main ShotCraft set includes cards on Light Direction Shapes Your Subject, Window Light, Natural-Light Portrait, Easy Posing and Backlight and Rim Light, so you can get a good portrait with the basics. It comes with 44 cards, printable at A5 or US Letter.
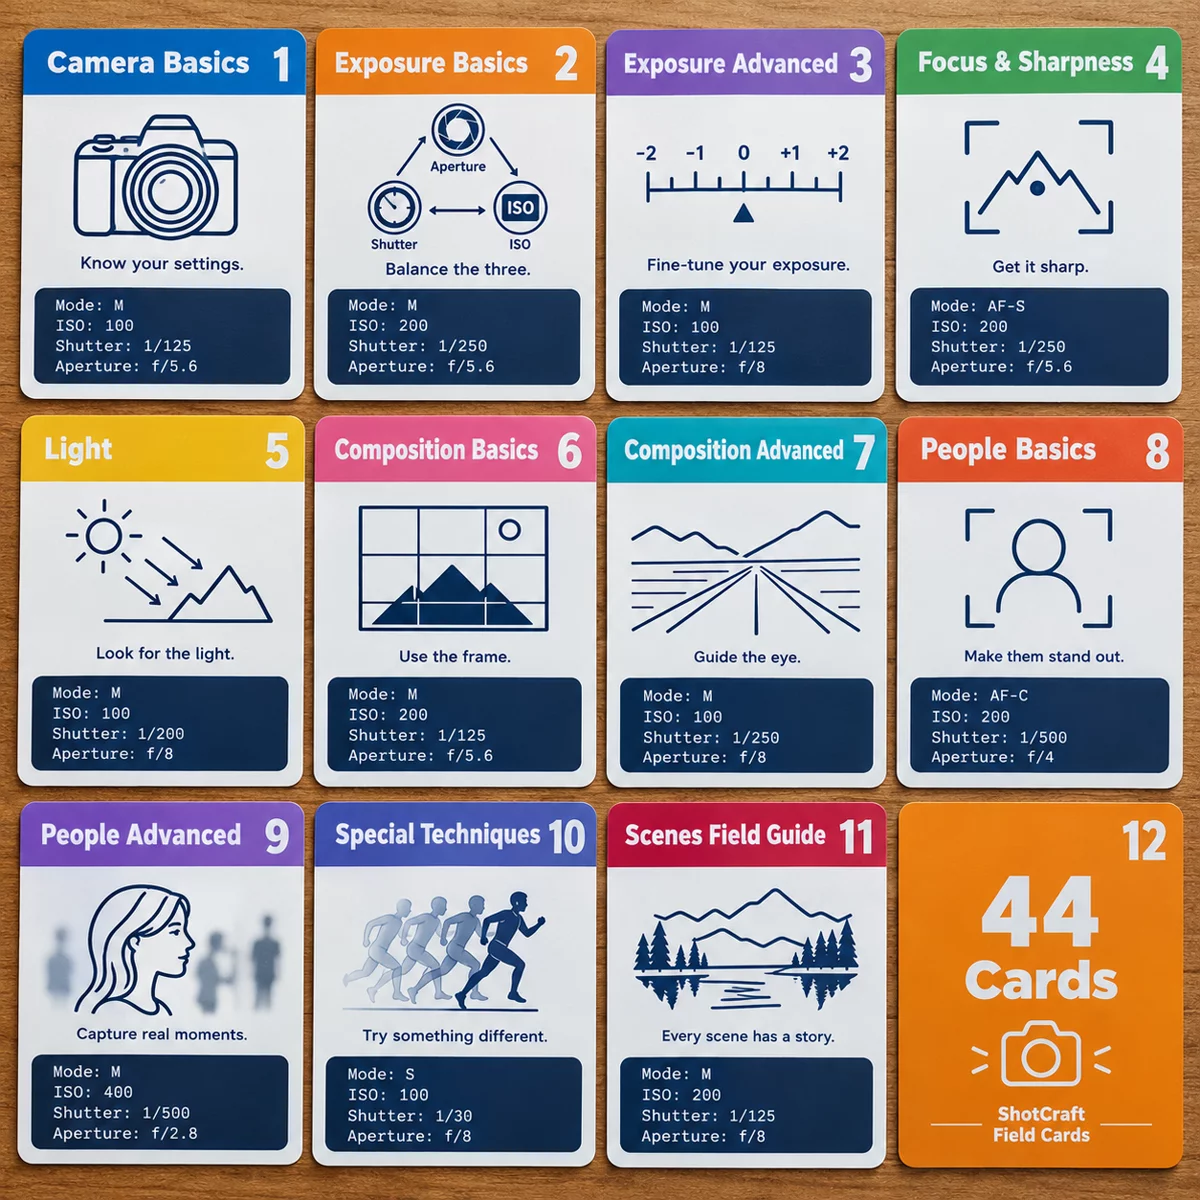
The four-pattern card used in this article, Four Classic Lighting Patterns, belongs to the separate Portrait Pro Pack, a paid add-on that is offered after your order and is not part of the main set. It also covers focal length for portraits, bokeh, open shade, reflectors, one-flash off-camera setups, high key and low key, posing hands and jawline, and a portrait session checklist. You can use this article on its own, with a window and a friend, without buying anything beyond the main set.